How to Build an MVP: 7 Steps From Idea to Launch
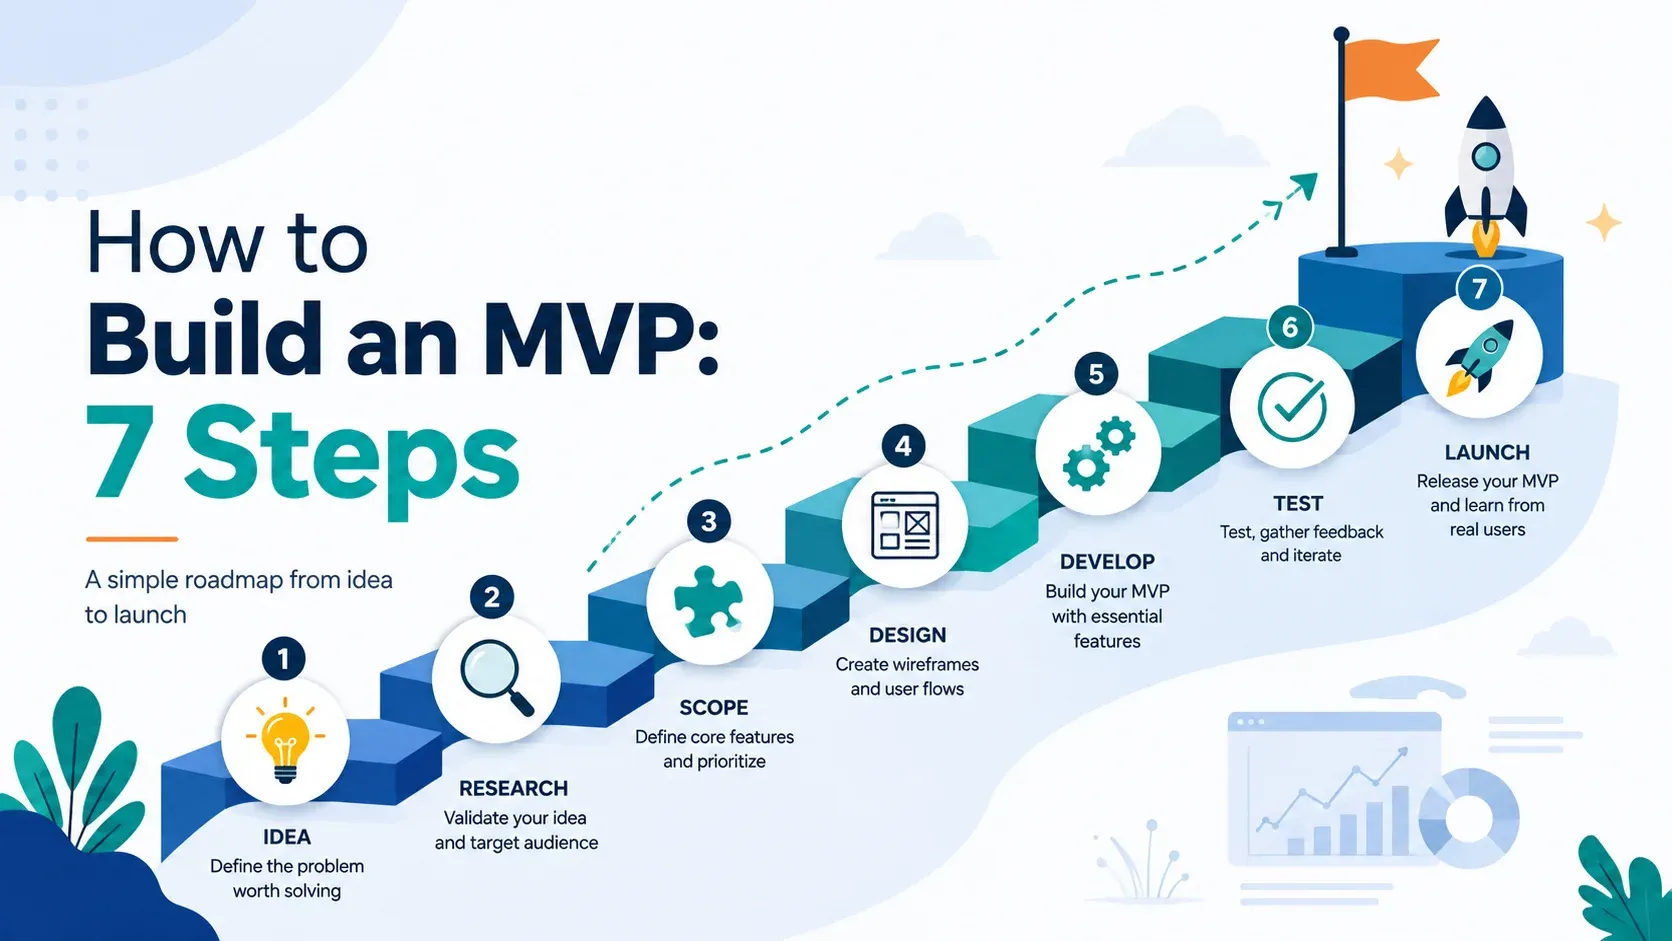
Every founder eventually asks some version of the same question: how do I actually build an MVP? Not the theory — the practical, ordered sequence of what to do first, second, and third, so the idea in your head turns into something real users can try.
Here it is in seven steps, in the order they should happen.
Step 1: Validate the Problem
Before designing or building anything, confirm the problem is real and worth solving for a specific customer.
- Talk to potential customers about the problem they experience, not your proposed solution
- Identify how they currently work around it
- Look for evidence beyond your own enthusiasm — repeated complaints, existing paid alternatives, waitlist interest
If you can’t describe the problem in one or two plain sentences without listing features, this step isn’t finished yet. Customer Interviews Before Building an MVP covers how to run these conversations well.
Step 2: Define the Core Assumption and Customer
With the problem validated, get specific about who you’re building for and what you need to learn.
- Name a specific first customer segment — not “everyone,” but a group you can actually reach and understand
- Write down the one business assumption this MVP needs to test
- Make that assumption measurable through real behaviour, not opinions
This becomes the filter for every decision in the steps that follow. If a feature doesn’t serve the core journey or help test this assumption, it doesn’t belong in the MVP.
Step 3: Scope the Minimum Feature Set
Turn the validated problem and assumption into a defined, buildable scope.
- Map one complete user journey the MVP will deliver, start to finish
- Sort every feature idea into must-have, useful-later, or postpone
- Be honest about which “essential” features are actually assumptions in disguise
Run this stage against the MVP Development Checklist before moving on — it catches most of the gaps that resurface expensively mid-build.
| Step | Primary output |
|---|---|
| 1. Validate the problem | Confirmed customer and evidence |
| 2. Define assumption and customer | A measurable hypothesis |
| 3. Scope the feature set | A defined core journey |
| 4. Design the journey | Clickable flow or wireframes |
| 5. Build iteratively | Working product |
| 6. Test the core journey | Reliable, launch-ready build |
| 7. Launch to real users | Real behavioural data |
Step 4: Design the Core Journey
Design doesn’t need to be extensive at this stage, but it needs enough clarity that development can proceed without guessing at decisions.
- Wireframe or mock up every screen in the core journey
- Decide what happens in edge cases — empty states, errors, permissions
- Keep the visual direction simple but coherent
Running early designs past a few people from your validation interviews catches usability issues while they’re still cheap to fix.
Step 5: Build in Iterative Cycles
Development should happen in short, visible cycles rather than one long build with a single reveal at the end.
- Work in weekly or biweekly cycles with regular demos
- Resist adding features mid-build just because they seem easy — that’s how scope quietly doubles
- Keep a staging environment you can actually click through as progress happens
If you’re not technical yourself, this is the step where a development partner, freelancer, or no-code platform typically does the heavy lifting — your job is staying close enough to catch scope drift early.
Step 6: Test the Core Journey
Testing an MVP focuses on reliability of the primary flow, not exhaustive coverage of every possible edge case.
- Test the full core journey end to end, on real devices if it’s web or mobile
- Confirm basic security and data-handling practices are in place
- Document known limitations honestly rather than letting users discover them
Step 7: Launch to Real Users
Launch is where the assumption you defined in step 2 finally gets tested against reality.
- Start with a smaller, relevant audience — your validation contacts, a waitlist, a specific community — rather than a broad public launch
- Set up analytics on the core journey so you can see where users complete or drop off
- Have a feedback channel ready and a plan for responding to what you learn
See From MVP to Launch for the fuller launch playbook — audience, channels, and how to read the first wave of results.
How Long Should This Actually Take?
There’s no universal timeline, but a rough guide helps set expectations. Validation typically takes one to three weeks. Scoping and design together often take another two to four weeks. Development is usually the longest phase, running four to ten weeks depending on complexity. Testing and launch prep add another one to two weeks on top.
Altogether, a focused MVP commonly moves from first customer conversation to real users in eight to twelve weeks. Products with significant technical risk or a broader initial scope will run longer — which is often a useful signal to revisit Step 3 and cut scope further, rather than simply accepting a longer timeline.
Starting Without All the Answers
None of these seven steps require having every detail figured out before you begin. What they require is discipline about sequence — validating before scoping, scoping before designing, designing before building. Founders who follow that order, even imperfectly, consistently end up with a faster, cheaper path to real evidence than founders who skip straight to building because it feels like the only “real” progress.
The Cycle Doesn’t Stop at Launch
Once real users start engaging, you have something you didn’t have on day one: actual evidence. Use it to decide what to refine, simplify, or build next. Building an MVP isn’t a one-time project that ends at launch — it’s the first, fastest lap of a cycle that keeps running as long as the product does.
Ready to Build Your MVP the Right Way?
MVPHUB helps founders validate, scope, design, develop, and launch focused production-ready MVPs using AI-accelerated delivery and accountable professional engineering. Book a free consultation to map out your build.
Book a free consultation with MVPHUBFrequently Asked Questions
What is the first step in building an MVP?
Validating the problem, not writing requirements. Before anything else, confirm that a specific target customer has a real problem, using evidence like interviews, existing workarounds, or early demand signals such as waitlist sign-ups.
How long does it take to build an MVP following these steps?
A focused MVP typically takes two to twelve weeks from validation through launch, depending on scope, technical complexity, and how quickly decisions get made. A tightly scoped product with minimal integrations can move toward the faster end of that range.
Do I need coding skills to build an MVP?
No. Non-technical founders regularly build MVPs by working with a development partner, freelancers, or no-code tools. What matters most is that the founder deeply understands the problem and can make clear product decisions.
What's the most common mistake when building an MVP?
Expanding scope during development — adding 'just one more feature' because it seems easy. This is the single most common reason MVPs take longer and cost more than planned, and it usually happens because scope wasn't clearly locked at the start.
What happens after I launch my MVP?
Launch starts a new cycle rather than ending the process. You observe real user behaviour, measure it against the assumption you set out to test, and use that evidence to decide what to refine, remove, or build next.